
The Snap feature in Windows has been tweaked many times since it debuted alongside Windows 7, with productive additions like Snap Assist brought in along the way. It only makes sense that Microsoft would put so much effort into developing this feature when you consider how useful it is for multitasking with two or more windows side by side.
Starting with build 10565 of Windows 10, Microsoft has made Snap even more handy, as two snapped windows can now be resized simultaneously. It's similar to how Snap has worked on Windows mobile systems in the past, but I'll show you how to use it on your desktop or laptop below.
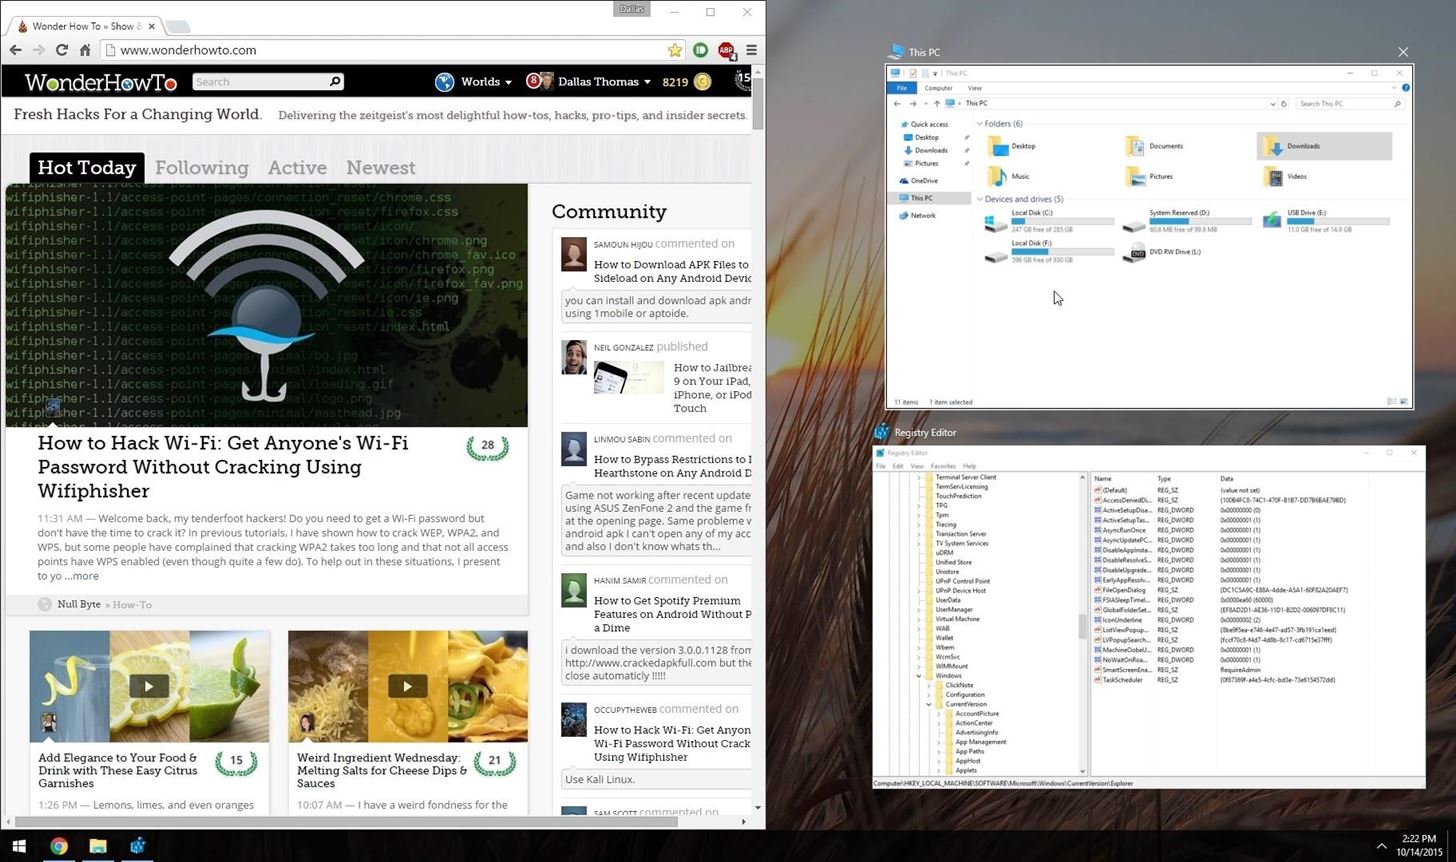
To try out the new resizing feature, start by dragging any window all the way to one side of your screen, then use Snap Assist to select the second window for your split-screen view. So far, everything should behave as it did before the update.
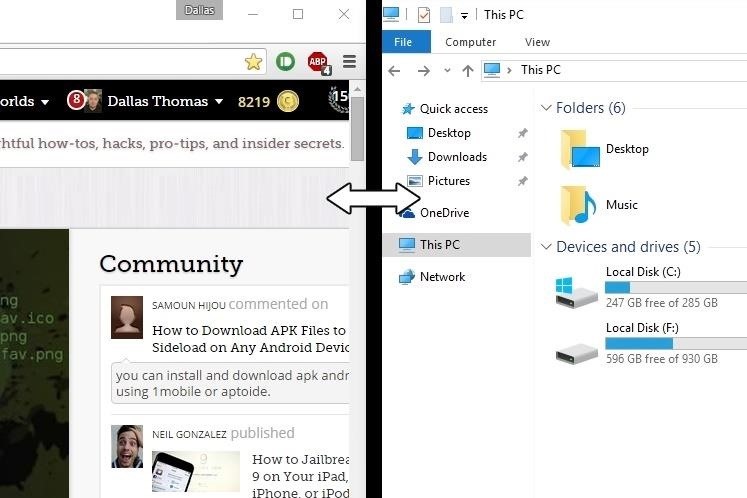
From here, hover your mouse pointer over the border between the two windows and a vertical black bar will appear. Click and hold this black bar, then drag it left or right to resize the two windows simultaneously.
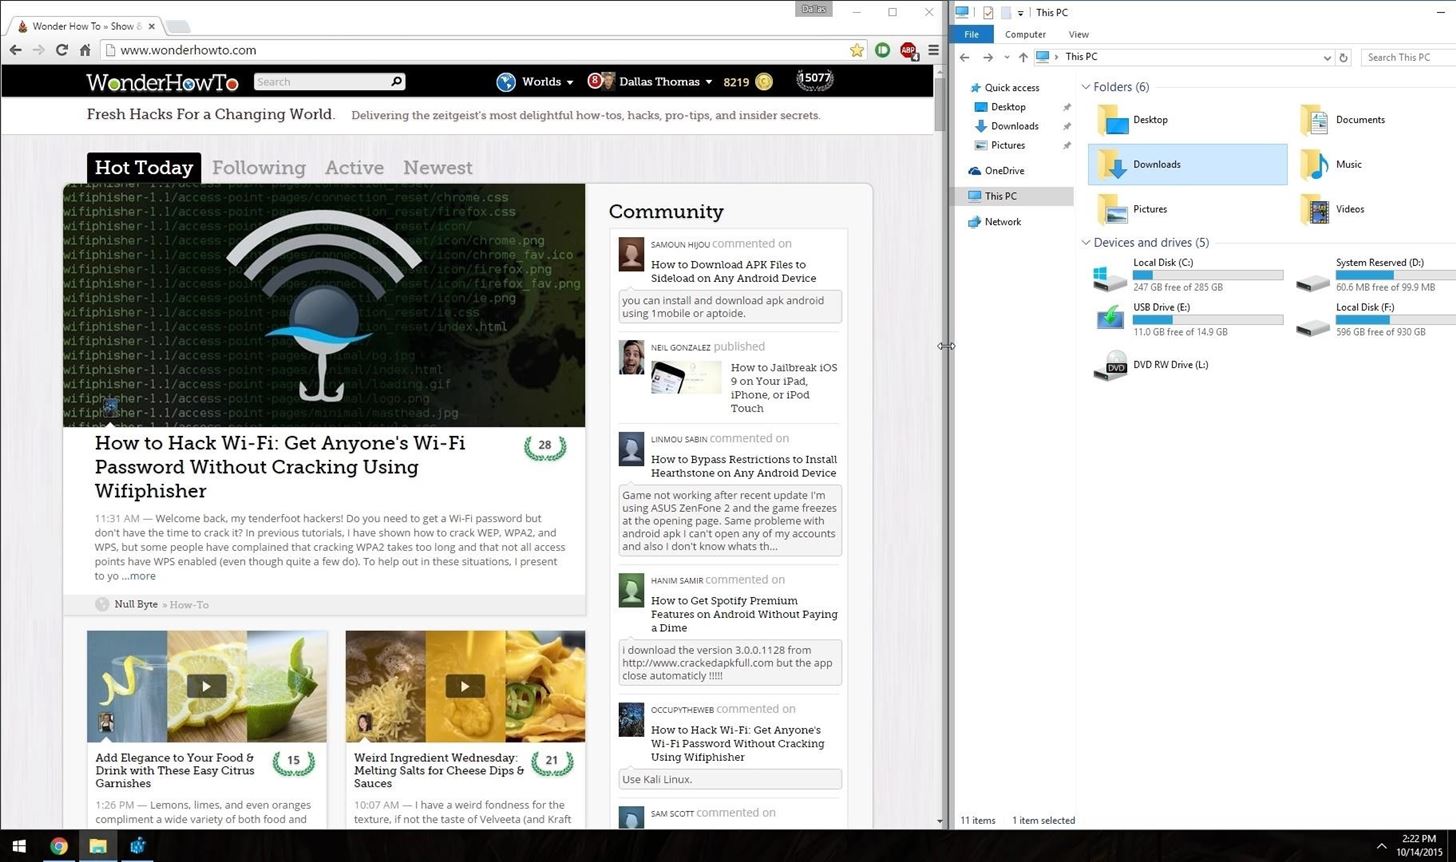
The two windows will still combine to take up your entire display, but they will resize accordingly. So you can have one snapped window taking up the majority of your screen, with the other window occupying a smaller portion on the left or right side.
In my opinion, this is the way Snap should have worked all along—it's just so natural. What are your thoughts? Let us know in the comment section below, or drop us a line on Facebook, Google+, or Twitter.
Just updated your iPhone? You'll find new emoji, enhanced security, podcast transcripts, Apple Cash virtual numbers, and other useful features. There are even new additions hidden within Safari. Find out what's new and changed on your iPhone with the iOS 17.4 update.


Be the First to Comment
Share Your Thoughts